pexels-pavel-danilyuk-6764270.jpg

Best Practices for Painting Over Dark Walls with Light Colors

Transforming dark walls with lighter hues can brighten up any space, giving it a fresh and airy feel. Although it may seem challenging, with the right approach, you can achieve beautiful results. Dark colors often require extra attention and preparation to ensure that the new light shade stands out and looks consistent.

Your choice of materials and preparation steps are crucial. High-quality paints and primers are key to achieving good coverage and durability. When done correctly, this process not only lightens your walls but also enhances your room's overall ambiance.

This guide will walk you through everything you need to know to effectively cover dark walls with light colors. By planning carefully and using the best practices, you’ll not only save time but also avoid common pitfalls. Get ready to embark on a painting project that transforms your space into a lighter, more inviting environment.

Choosing the Right Tools and Materials

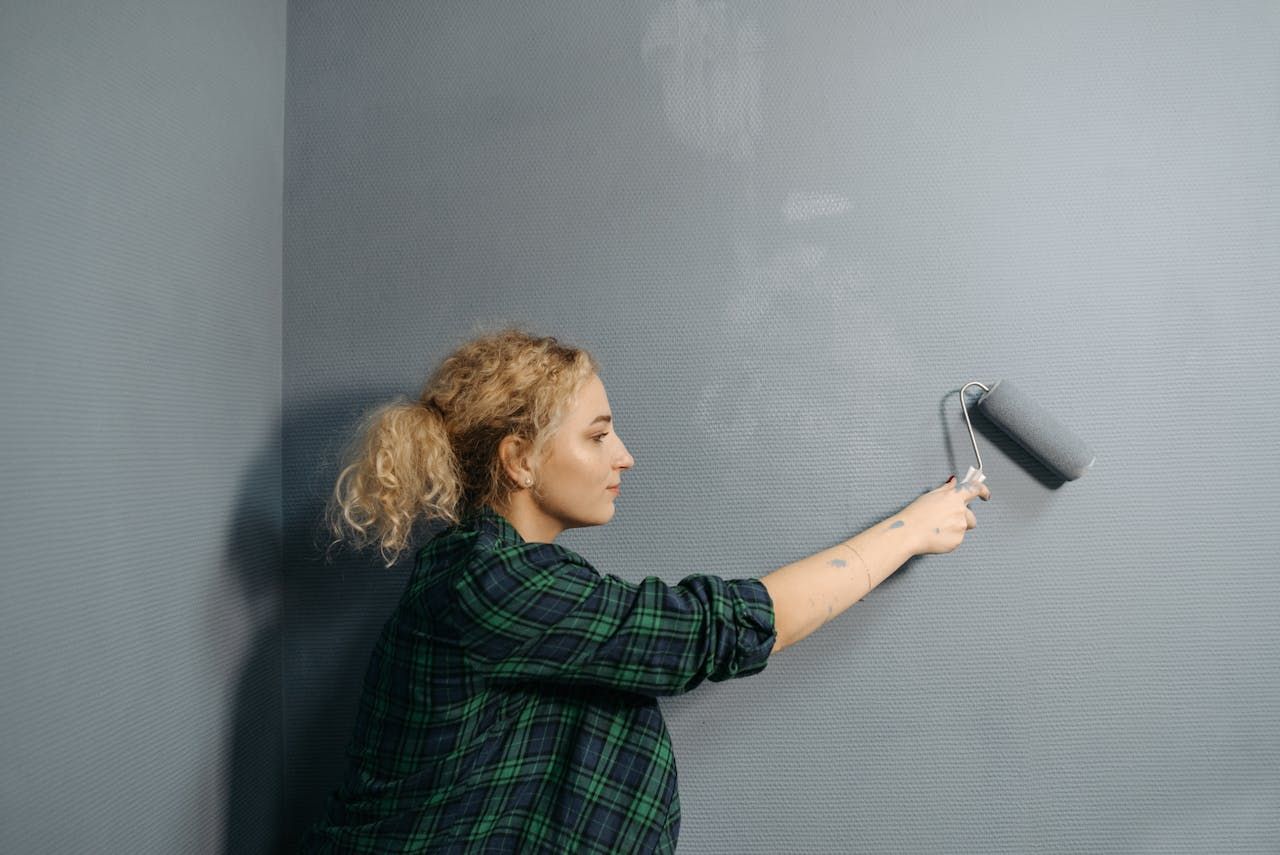
When you're painting over dark walls with a light color, having the right tools makes the process much smoother. Proper tools and high-quality materials are crucial for ensuring that your light-colored paint covers well and looks great.

Essential Tools You Need:

  • Rollers: Choose a roller with a smooth nap for flat walls or a thicker nap if the walls are textured. The right roller helps distribute paint evenly, which is important when covering a dark base.

  • Brushes: High-quality brushes are ideal for cutting in along edges and corners. They provide precise control, ensuring that paint neatly covers these tricky areas.

  • Primer: A good primer is critical for blocking out dark colors and providing a base that allows light paint to adhere better. Opt for a stain-blocking primer to prevent any dark tones from bleeding through.

  • Paint Tray and Liner: A sturdy paint tray with a liner simplifies cleanup and allows you to work more efficiently.

Why Quality Matters:

Using high-quality paints and primers ensures better coverage and a longer-lasting finish. Cheap materials might not cover dark colors well, leading to uneven tones and more work. Premium paints contain more pigments, which means fewer coats to achieve the desired look. Investing in quality primer and paint not only saves you time and effort but also enhances the durability and appearance of your newly painted walls. With the right tools and materials, you set the foundation for a successful painting project.

Prepping Your Walls for Success

Preparation is the key to a smooth painting experience and a flawless finish. Proper wall prep ensures that your new light paint color looks even and covers well.

Steps for Wall Preparation:

1. Cleaning: Begin by cleaning the walls with a mild soap and water solution. This step removes dirt, dust, and grease, which can prevent paint from sticking. Allow the walls to dry completely before moving on.

2. Filling Cracks and Holes: Use a suitable filler or spackling compound to fill any holes or cracks in the walls. This creates a level surface, which is essential for achieving an even coat of paint.

3. Sanding: Once the filler has dried, sand the walls lightly to smooth out any rough spots. Sanding also helps the primer adhere better by roughening the surface slightly.

4. Priming: Apply a coat of primer designed for painting over dark colors. The primer acts as a binding layer, helping to cover the dark tones and prepare the surface for the light color. Make sure the primer dries thoroughly before proceeding with painting.

By taking the time to properly prep your walls, you reduce the chances of paint peeling or appearing streaky. Thorough cleaning and priming are essential for achieving the best results, making your light-colored paint shine and ensuring it lasts longer. This careful preparation lays the groundwork for a professional finish that enhances your room's overall look.

Applying Primer and Paint

Successfully painting over dark walls starts with applying primer correctly. Primer helps to block dark colors and provides a base for your new light paint.

Step-by-Step Application of Primer:

1. Stir the Primer Well: Before you begin, make sure to stir your primer thoroughly. This ensures an even consistency for better coverage.

2. Apply the Primer with Rollers: Use a roller to apply primer evenly across the walls. Start at the top and work your way down in sections. This technique helps avoid streaks and ensures complete coverage.

3. Cut in Corners and Edges with a Brush: For areas the roller can't reach, like corners and edges, use a good-quality brush. Take your time to ensure these areas are well-coated.

4. Allow to Dry Completely: Make sure the primer is fully dry before moving on to painting. Check the manufacturer’s instructions for drying times.

Technique for Painting:

1. Apply the First Coat of Light Paint: Start with a roller at the top of the wall, just like with the primer. Apply the paint in thin, even coats to avoid drips.

2. Cut in Carefully: Use your brush to paint corners and around the trim. Precision here ensures no dark patches are visible later.

3. Repeat for Additional Coats: Most dark walls will need at least two coats of light paint. Allow each coat to dry thoroughly before applying the next to ensure the best finish.

These steps help in achieving a smooth transition from dark to light, with the layers building up a solid foundation for the final color.

Tips for Achieving a Professional Look

Ensuring your paint job looks professional requires attention to detail and some extra steps. These tips can help make your paint job neat and polished.

Use Painter's Tape for Precision:

  • Apply Tape to Edges and Trim: Carefully place painter’s tape around the edges of ceilings, baseboards, and trim. This keeps lines crisp and prevents paint from bleeding onto surfaces you want to keep clean.

  • Press Down Firmly: Ensure the tape is snug against the surface to avoid any paint seeping underneath.

Handling Tricky Areas:

  • Corners and Edges: Use a small angled brush to reach into corners. Keep a steady hand and take your time for neat edges.

  • Avoid Overloading the Brush: When working in tough spots, use a small amount of paint on your brush. This control helps keep lines sharp and prevents excess paint buildup.

  • Use a Proper Ladder or Stepladder: To tackle higher spots without hassle, use a ladder that gives you good reach and stability.

By implementing these strategies, you can achieve a uniform and professional look, ensuring your light-colored paint stands out beautifully against your previously dark walls.

Conclusion

Painting over dark walls with light colors transforms a space, giving it a fresh, open feeling. While the task requires careful attention to detail and patience, the end result is incredibly rewarding. By selecting quality tools and materials, preparing your walls thoroughly, and following precise techniques, you make the process simpler and the outcome undeniably stunning.

Your freshly painted space will not only brighten your home but also reflect your personal style and taste. Remember, the key to a successful paint job lies in preparation, patience, and precision. Confidence in your approach and execution is what ultimately brings your vision to life.

Ready to tackle your next painting project with ease? Let Eclipse Pro Painting help bring light and freshness to your walls with a professional touch. Our experienced painters in Sioux City, Iowa, ensures top-quality results every time. Visit our website to learn more about how we can transform your home today.