ceiling

Easy Techniques to Paint Your Ceilings Without Making a Mess

Painting ceilings might seem like a daunting task, but with the right techniques and tools, it can be a breeze. Many people find themselves avoiding ceiling projects due to the fear of drips and messes. However, a well-planned approach makes the process much simpler and the final result very satisfying.

The key to success is in the preparation and knowing the proper method. Starting with the right tools and setting up your work area can prevent many common issues. By following a few easy steps and taking care to carry them out properly, you can transform your ceiling into a beautiful part of your room. Whether you're refreshing your living space or giving a room a brand new look, painting the ceiling can make a big difference.

With a little guidance, anyone can achieve a professional finish on their ceilings. Taking the effort to learn effective techniques will save time and ensure a clean job without unnecessary stress. So, let’s explore how to tackle ceiling painting with confidence and get great results while keeping your space tidy.

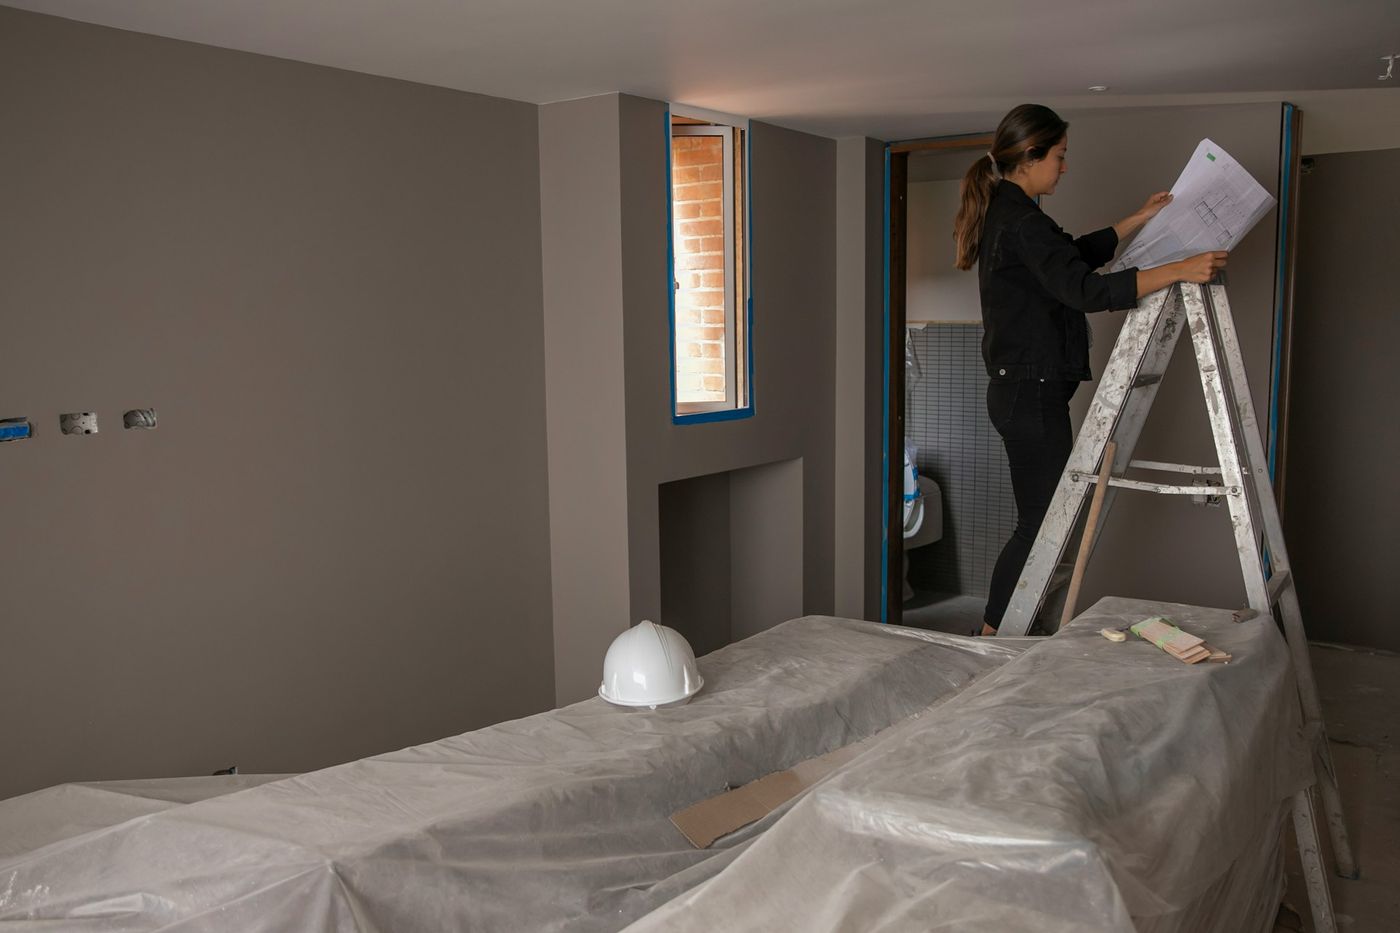
Essential Tools and Materials

Painting ceilings without making a mess starts with having the right tools. Gathering these essentials beforehand will help you work efficiently and maintain a clean environment.

1. Protective Gear: Safety glasses and a mask are crucial for keeping paint drips out of your eyes and lungs. A cap or head covering further protects you from splatters.

2. Paint Rollers and Extension Poles: Choose a roller with the correct nap for your ceiling’s texture. Pair it with an extension pole to reach high spots without needing a ladder, reducing the risk of spills.

3. Drop Cloths: Use heavy-duty drop cloths to cover floors and furniture. They prevent paint from staining your belongings and are easy to reposition as needed.

4. Painter’s Tape: Apply painter’s tape around the edges of the ceiling, as well as on light fixtures and ceiling fans. This helps achieve crisp lines and protects areas you don’t want painted.

5. Ceiling Paint: Opt for a paint specifically designed for ceilings. These paints are thicker to prevent drips and often have a flat finish to hide imperfections.

Each item plays a vital role in ensuring your painting process remains tidy. Proper tools help you achieve professional-looking results while minimizing cleanup and hassle.

Prepping Your Space for a Clean Job

Preparing your painting area is a key step in preventing messes. Proper preparation protects your belongings and ensures better results.

Begin by clearing the room of smaller items like lamps and decor. Move larger furniture pieces to the center of the room and cover them with drop cloths. This creates more space for your work and protects your belongings from accidental paint droplets. Make sure your drop cloths are spread out evenly over the floor, safeguarding it from splatters.

Next, clean the ceiling to remove dust and grease, which can prevent paint from sticking properly. A simple wipe down with a damp cloth should do the trick. Be sure to fill any cracks or holes with a suitable filler, then sand smooth once dry. This step is crucial, as it ensures a smooth finish and prevents flaws in the painted surface.

When it comes to using painter’s tape, apply it precisely around the edges for clean lines. Cover light fixtures and ceiling fans to safeguard them from paint. This careful preparation minimizes clean-up time later and helps you achieve a polished look with sharp edges.

By investing time and effort in preparing your space, you set the stage for a smooth painting process. This attention to detail ensures that your ceiling project is completed without unnecessary stress or mess.

Step-by-Step Technique for Painting Ceilings

Getting the right method down makes painting your ceiling much easier and gives a nice finish. Here’s a simple guide to follow:

1. Priming the Ceiling: Start by applying a coat of primer to the ceiling. This helps the paint stick better and evens out any marks or stains. Use a roller with an extension pole to apply the primer evenly across the surface. Allow it to dry as recommended on the primer label before proceeding.

2. Applying the Paint: Pour a small amount of ceiling paint into a paint tray. Load your roller with paint, then roll off the excess on the tray. Begin painting in sections, using a “W” pattern to cover the area evenly. This method helps avoid streaks and ensures consistent coverage.

3. Maintaining Control: Hold the roller with a steady hand and use gentle, even pressure. Too much force can lead to drips and splatters. The extension pole not only allows for greater reach but also reduces the need for ladders, thus keeping your workspace less cluttered.

4. Second Coat: Once the first coat is completely dry, inspect for any thin areas. Apply a second coat if needed, following the same technique to ensure a smooth, uniform look.

Following these steps helps create a professional-looking ceiling without the mess.

Clean-Up and Final Touches

After painting, proper cleanup and final touches make sure everything looks perfect and remains tidy. Follow these simple tips:

1. Removing Painter’s Tape: Take off the painter’s tape slowly and carefully while the paint is still slightly wet. This prevents the tape from pulling off dried paint along with it, keeping your edges clean.

2. Storing Leftover Paint: Pour any leftover paint back into its can and seal it tightly. Store it in a cool, dry place. Proper storage keeps the paint fresh for touch-ups or future projects.

3. Disposing of Supplies: Clean brushes and rollers immediately after use, using water for water-based paints or the appropriate solvent for oil-based paints. Dispose of used painter’s tape and drop cloths responsibly, and keep your workspace tidy.

4. Touching Up: Inspect the ceiling for missed spots or light areas once it has dried completely. Use a small brush to touch up these spots without applying too much paint, as this can create streaks.

Clean-up and following these final steps ensure your painted ceiling looks polished and beautiful.

Conclusion

Painting your ceiling doesn't have to be a daunting task. With the right tools and careful preparation, you can achieve a clean and tidy finish that enhances your space. Following detailed techniques ensures that your paint job looks smooth and professional, while cleanup tips keep your environment organized. Making sure your ceiling receives the attention it deserves can truly transform a room’s appearance.

Eclipse Pro Painting is ready to help you achieve the perfect ceiling transformation. Whether it's for a room refresh or a complete home makeover, our expert painting services ensure that every detail is handled with care. Let us take the hassle out of painting so you can enjoy the stunning results. Contact Eclipse Pro Painting today and make your ceiling shine.